
Contents [hide]
- 1 What are Glides?
- 2 Signs of Trouble
- 3 Fixing Dryer Glides
- 4 Replacing the Glides
- 5 All the Dryer Know-How You Need
Repairs on your dryer are an unfortunate necessity as the machine wears out over time. But the exact approach to fixing the dryer can vary tremendously depending on the specific parts that are damaged.
Knowing how the different parts work and how to fix any problem with them is essential for maintaining your dryer’s safety and efficiency at laundry.
A fundamental component in dryers that has a considerable effect on both the drum and the machine as a whole is the type of unit called the glide.
Glides play an important role in the dryer’s function, and you should be prepared to address repair concerns as you accumulate wear on glides. It may seem tricky, but things should be fairly easy once you understand how the glides work.
What are Glides?
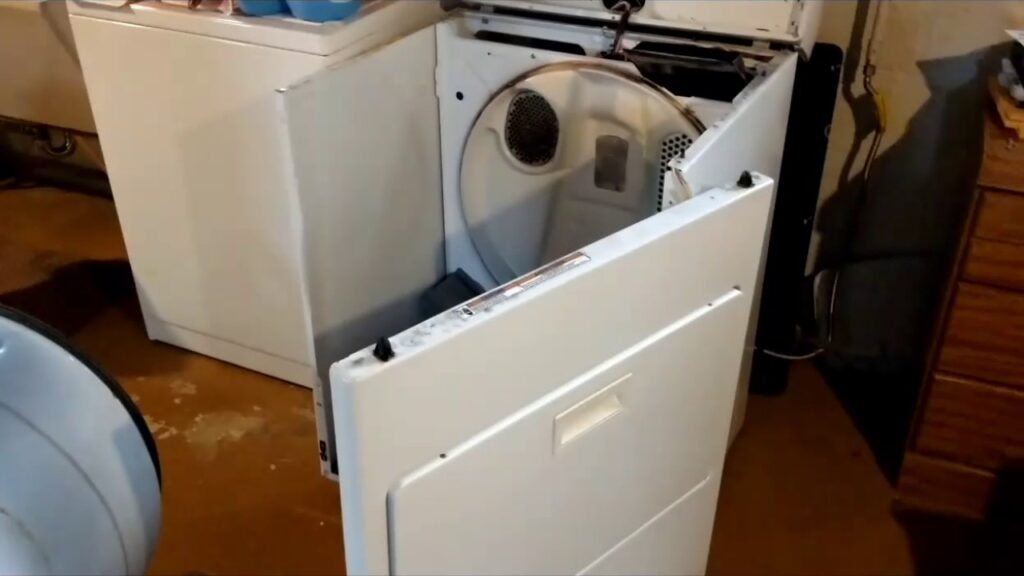
Photo credit to YouTube
As explained here on PartSelect, glides differ from many of the other dryer components in that the glides are generally always in the same position: in the bulkhead at the front end of the drums.
The reason for the specific positioning is that the glides’ primary purpose involves the drum. The glides serve as the principal bearing for the drum and keep the drum moving in a stable rotation.
The glides, therefore, prove instrumental in guaranteeing that the drum functions correctly in the dryer. Without the glides providing the bearings, the drum may begin to spin erratically, which can be less efficient in drying clothes and perhaps even damage clothes.
Worse, under those conditions, the drum may begin to scrape against other parts of the dryer, leading to damage in other key dryer components.
Signs of Trouble
Photo credit to mix1051utah.com
Wear on glides occurs naturally over time, so it is not much you can do to prevent the damage. Nevertheless, you can still limit the level of wear by keeping your dryer to lower cycle intensities to avoid exacerbating the glides and other components.
Even so, you can at the very least stay alert for when the wear becomes too much for the glides and the dryer. That way you can quickly respond and fix it.
As mentioned before, worn out glides are unable to ensure that the drum runs smoothly, so watch for the drum spinning in a chaotic and unsteady manner.
Similarly, listen for strange sounds that could be from the drum scraping against the dryer. To ascertain that the glides are the real source of the problem, open the dryer cabinet to access the glides and determine their overall condition.
Fixing Dryer Glides
Photo credit to YouTube
Sometimes drum glides will only be slightly worn out rather than worn out entirely.
While you should not simply leave the glides be under those conditions, you may wish to consider alternatives to straight out replacing the units. It might be better for you to instead make repairs to the existing glides.
If the damage to the glides is not overly severe, you can patch up the wear and ensure that they can still run. Even so, repairs can only do so much for the dryer’s glides, and they will continue to wear out with each cycle of laundry.
Furthermore, you should only make fixes to dryer parts if you are certain the repairs can be done competently without further compromising the machine. Therefore, while you can, of course, make your own repairs to the drum glides, don’t be afraid to replace them when necessary.
Replacing the Glides

When your dryer glides are too worn out, replacing them with new units is a must.
First, according to SF Gate, you should open and disassemble the dryer cabinet at the front of the dryer – after unplugging the machine, of course.
Carefully remove the wire harnesses and any screw holding the cabinet in place and then find the dryer glides.
The exact means of removing the glides will vary depending on their material. Check with your manufacturer to acquire the right kit for handling the drum and the glides.
Once you have safely removed the glides from the drum of the dryer, you can proceed with attaching the replacement glides and putting the connecting wires and supports back into place.
Reassemble the rest of the dryer and you should be able to run it again. Just listen for any signs that the problem’s not fixed.
Photo credit to ImproveNet
All the Dryer Know-How You Need
There’s still a lot more to learn about drum glides and the different variations of the device. But that is only a small fraction of the various components making up each dryer.
To fully address the repair issues that will beset your dryer over time, you will need to study all of the different parts and know how they work and how they link with other pieces in the dryer.
Understanding the complexities of your dryer can be rather difficult admittedly, but you don’t have to do it alone. At Dryernotheatingcom, we can give you all the tips, repair hacks, and the how-to’s you need to help fix your dryer.